Why should I learn it?
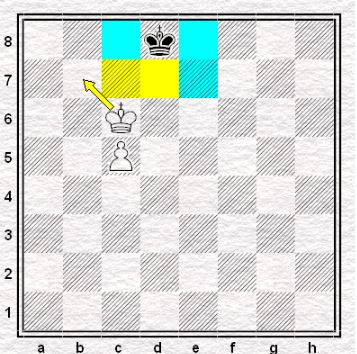
Key squares, in King and pawn endings, are those squares whose occupation by one side determines the outcome of the game favorably for that side. Learning how to quickly and aptly detect them goes a long way to improving your endgame strength, as this way you can put the other tools you already learned (such as opposition) to their best use by knowing where you want to go.
When do I use it?
Any pawn endgame, but especially ones with passed pawns for at least one side, have a good deal of key-square theory to them.
Link to Practice Problems
Step-by-Step Guide on Key squares
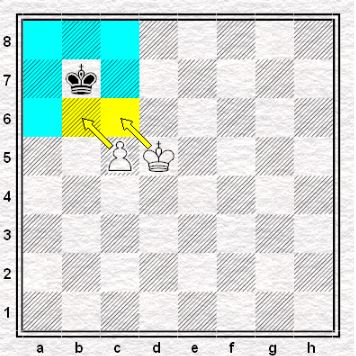
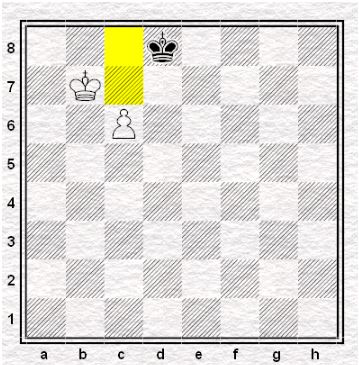
It is White to move. The White king needs to occupy the key squares (critical squares) in order to force the pawn promotion and in this position, White already controls b6 and c6.
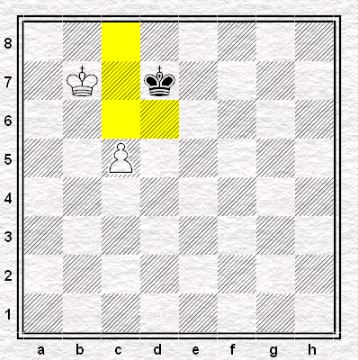
1. Kd6
The only winning move. This move lets White take control of c7 and force the Black king away.
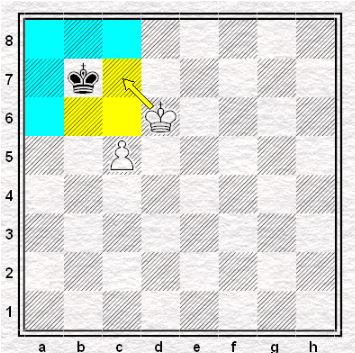
1. …Kc8
Preventing the White king from jumping into d7.
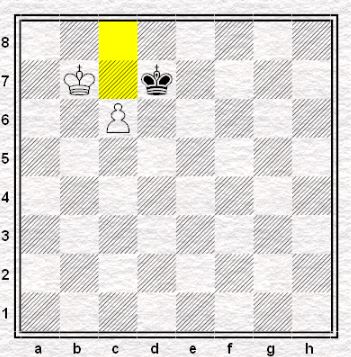
- Kc6
By doing so, the White king have stayed in front of the pawn while reducing the Black king’s escape routes to just b8 and d8.
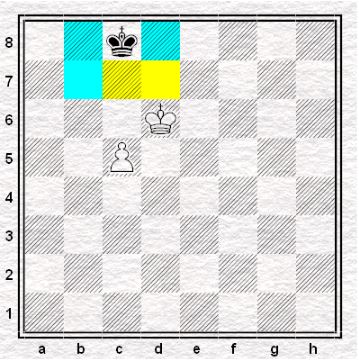
- …Kd8
After this move, the White king is now free to jump into b7.
(2. …Kb8 is met by 3. Kd7)
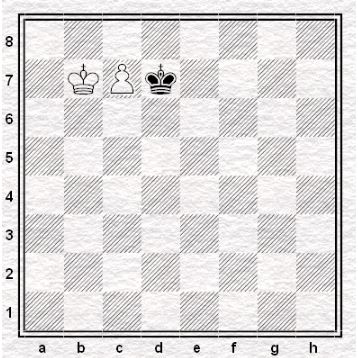
- Kb7
Thanks to this move, White has secured c6, c7 and c8, thus making it impossible for Black to take the pawn as it advances.
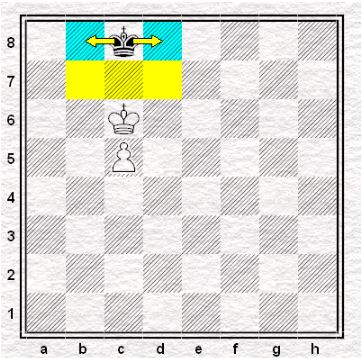
- …Kd7
Black still tries to resist but with no effect.
- c6+
Onwards!
- …Kd8
Moving away from check.
- c7+

One more.
- …Kd7
Somehow hoping that White blunders so he could either take the pawn or jump into c8.
- c8=Q+
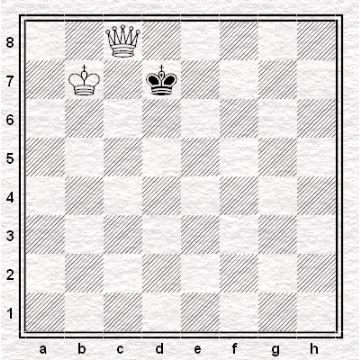
The pawn gets promoted into a queen and White should get an easy win.