Why should I learn it?
It’s not uncommon that, in a Rook and pawn vs Rook and pawn endgame, one side is forced to sacrifice their Rook in order to stop a too far-advanced enemy pawn. Understanding the characteristics of the pawn vs Rook fight will allow you to keep fighting even after your Rook is gone.
When do I use it?
In the above-mentioned case, of course, but also during normal Rook and pawn vs Rook and pawn endgames. It’s always useful to have the possibility of going into a pawn vs Rook endgame in mind—this is not only a resource for the defense, but it can actually be the path to victory, since in not a few such endgames the Rook finds stopping the opposite pawn or pawns to be above its capacity.
Link to Practice Problems
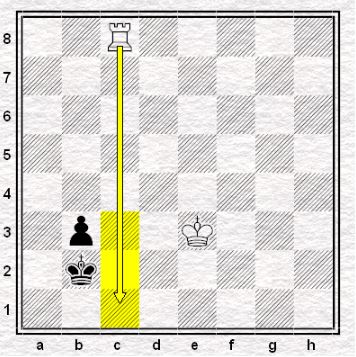
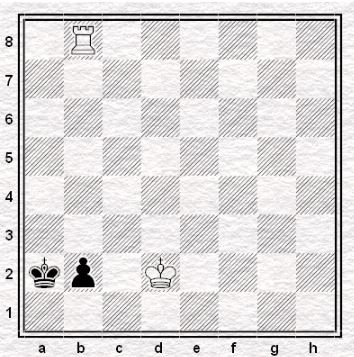
Step-by-Step Guide on Rook vs pawn
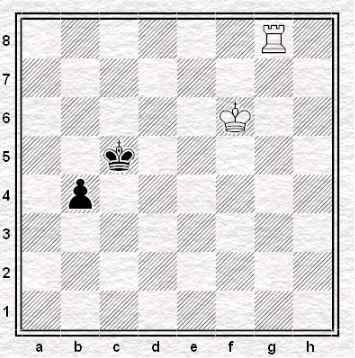
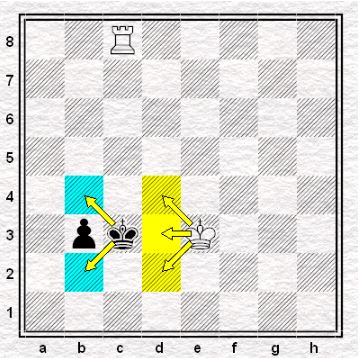
Combine Rook threats with bringing your King in to stop the black pawn, even at the last moment.
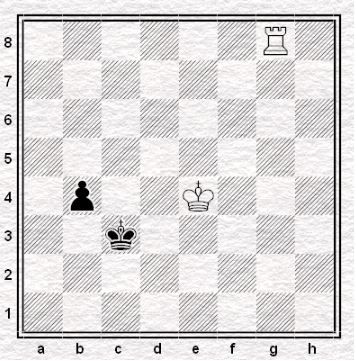
- Ke5
The only winning move. We needed to make sure that our king is close enough when it’s needed the most.
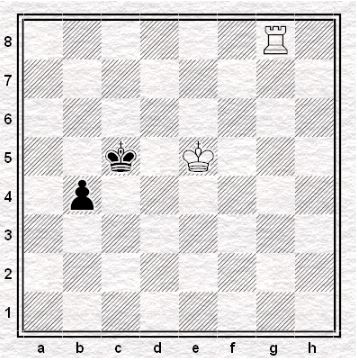
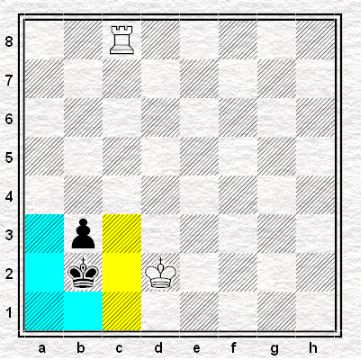
- …Kc4
Supporting the pawn’s advance.
- Ke4
Again, the only winning move. The White king keeps close.
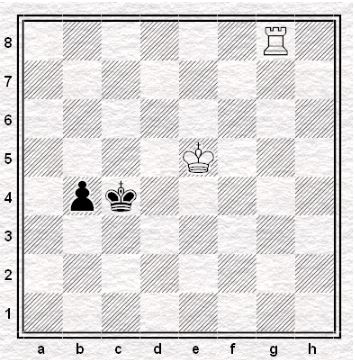
- …Kc3
Trying not to let the White king get closer while preparing to advance the pawn.
- Ke3
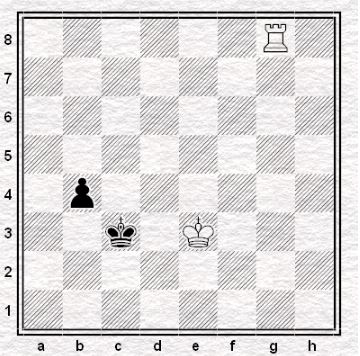
Keeping close.
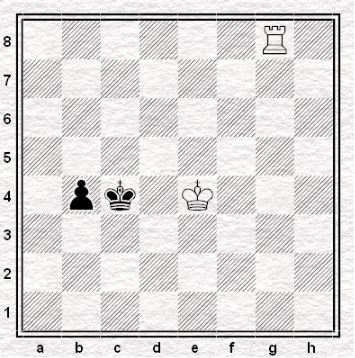
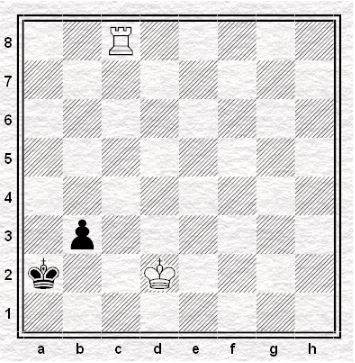
- …b3
Finally advancing its pawn. However, White has a surprise.
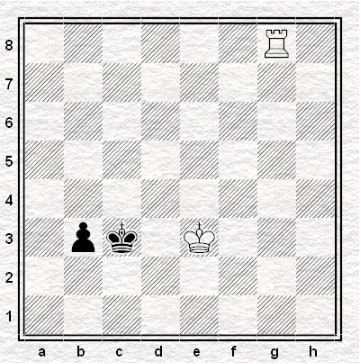
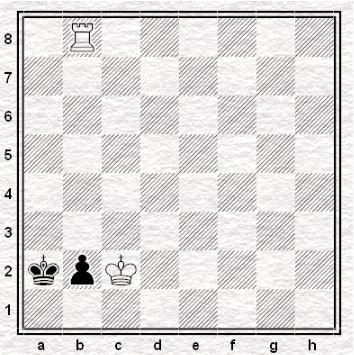
- Rc8+
Now, the Black king is forced into the b-file.
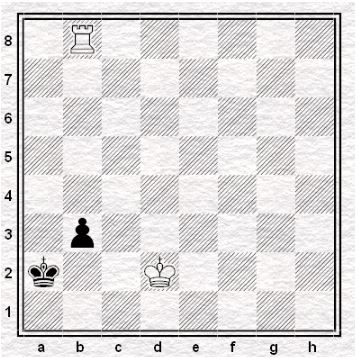
- …Kb2
Thanks to the check earlier, the c-file is now controlled by White.
- Kd2
Black is getting cornered more and more.
- …Ka2
Making way for the pawn.
- Rb8
White won’t be letting go of the pawn anytime soon.
- …b2
Looking to draw by promoting the pawn.
- Kc2
However, White has a different thing in mind. By putting the White king on c2, the rook is free to take the pawn.
- .b1=Q+

Black decides to promote the pawn nevertheless.
- Rxb1
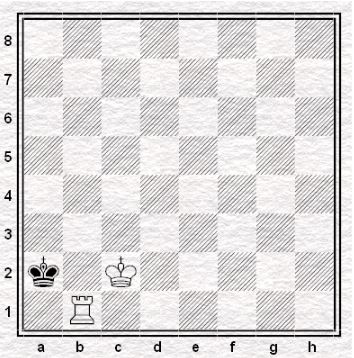
The rook could safely take the queen since the White king also supports the b1 square. After a few maneuvers, White should easily win the game.